Helping you manage your Company Bills
In this article, we will explain how you can manage your Company’s Bills
First, what exactly are Bills?
Bills include expenses of the company that has yet to be paid. They typically include items such as Rent, Utility, Supplier Bills etc.
There are 2 ways to submit Bills
- Submit by uploading documents to the Zave portal
- Email the invoice/receipt to the email address specifically for Bills
Method 1
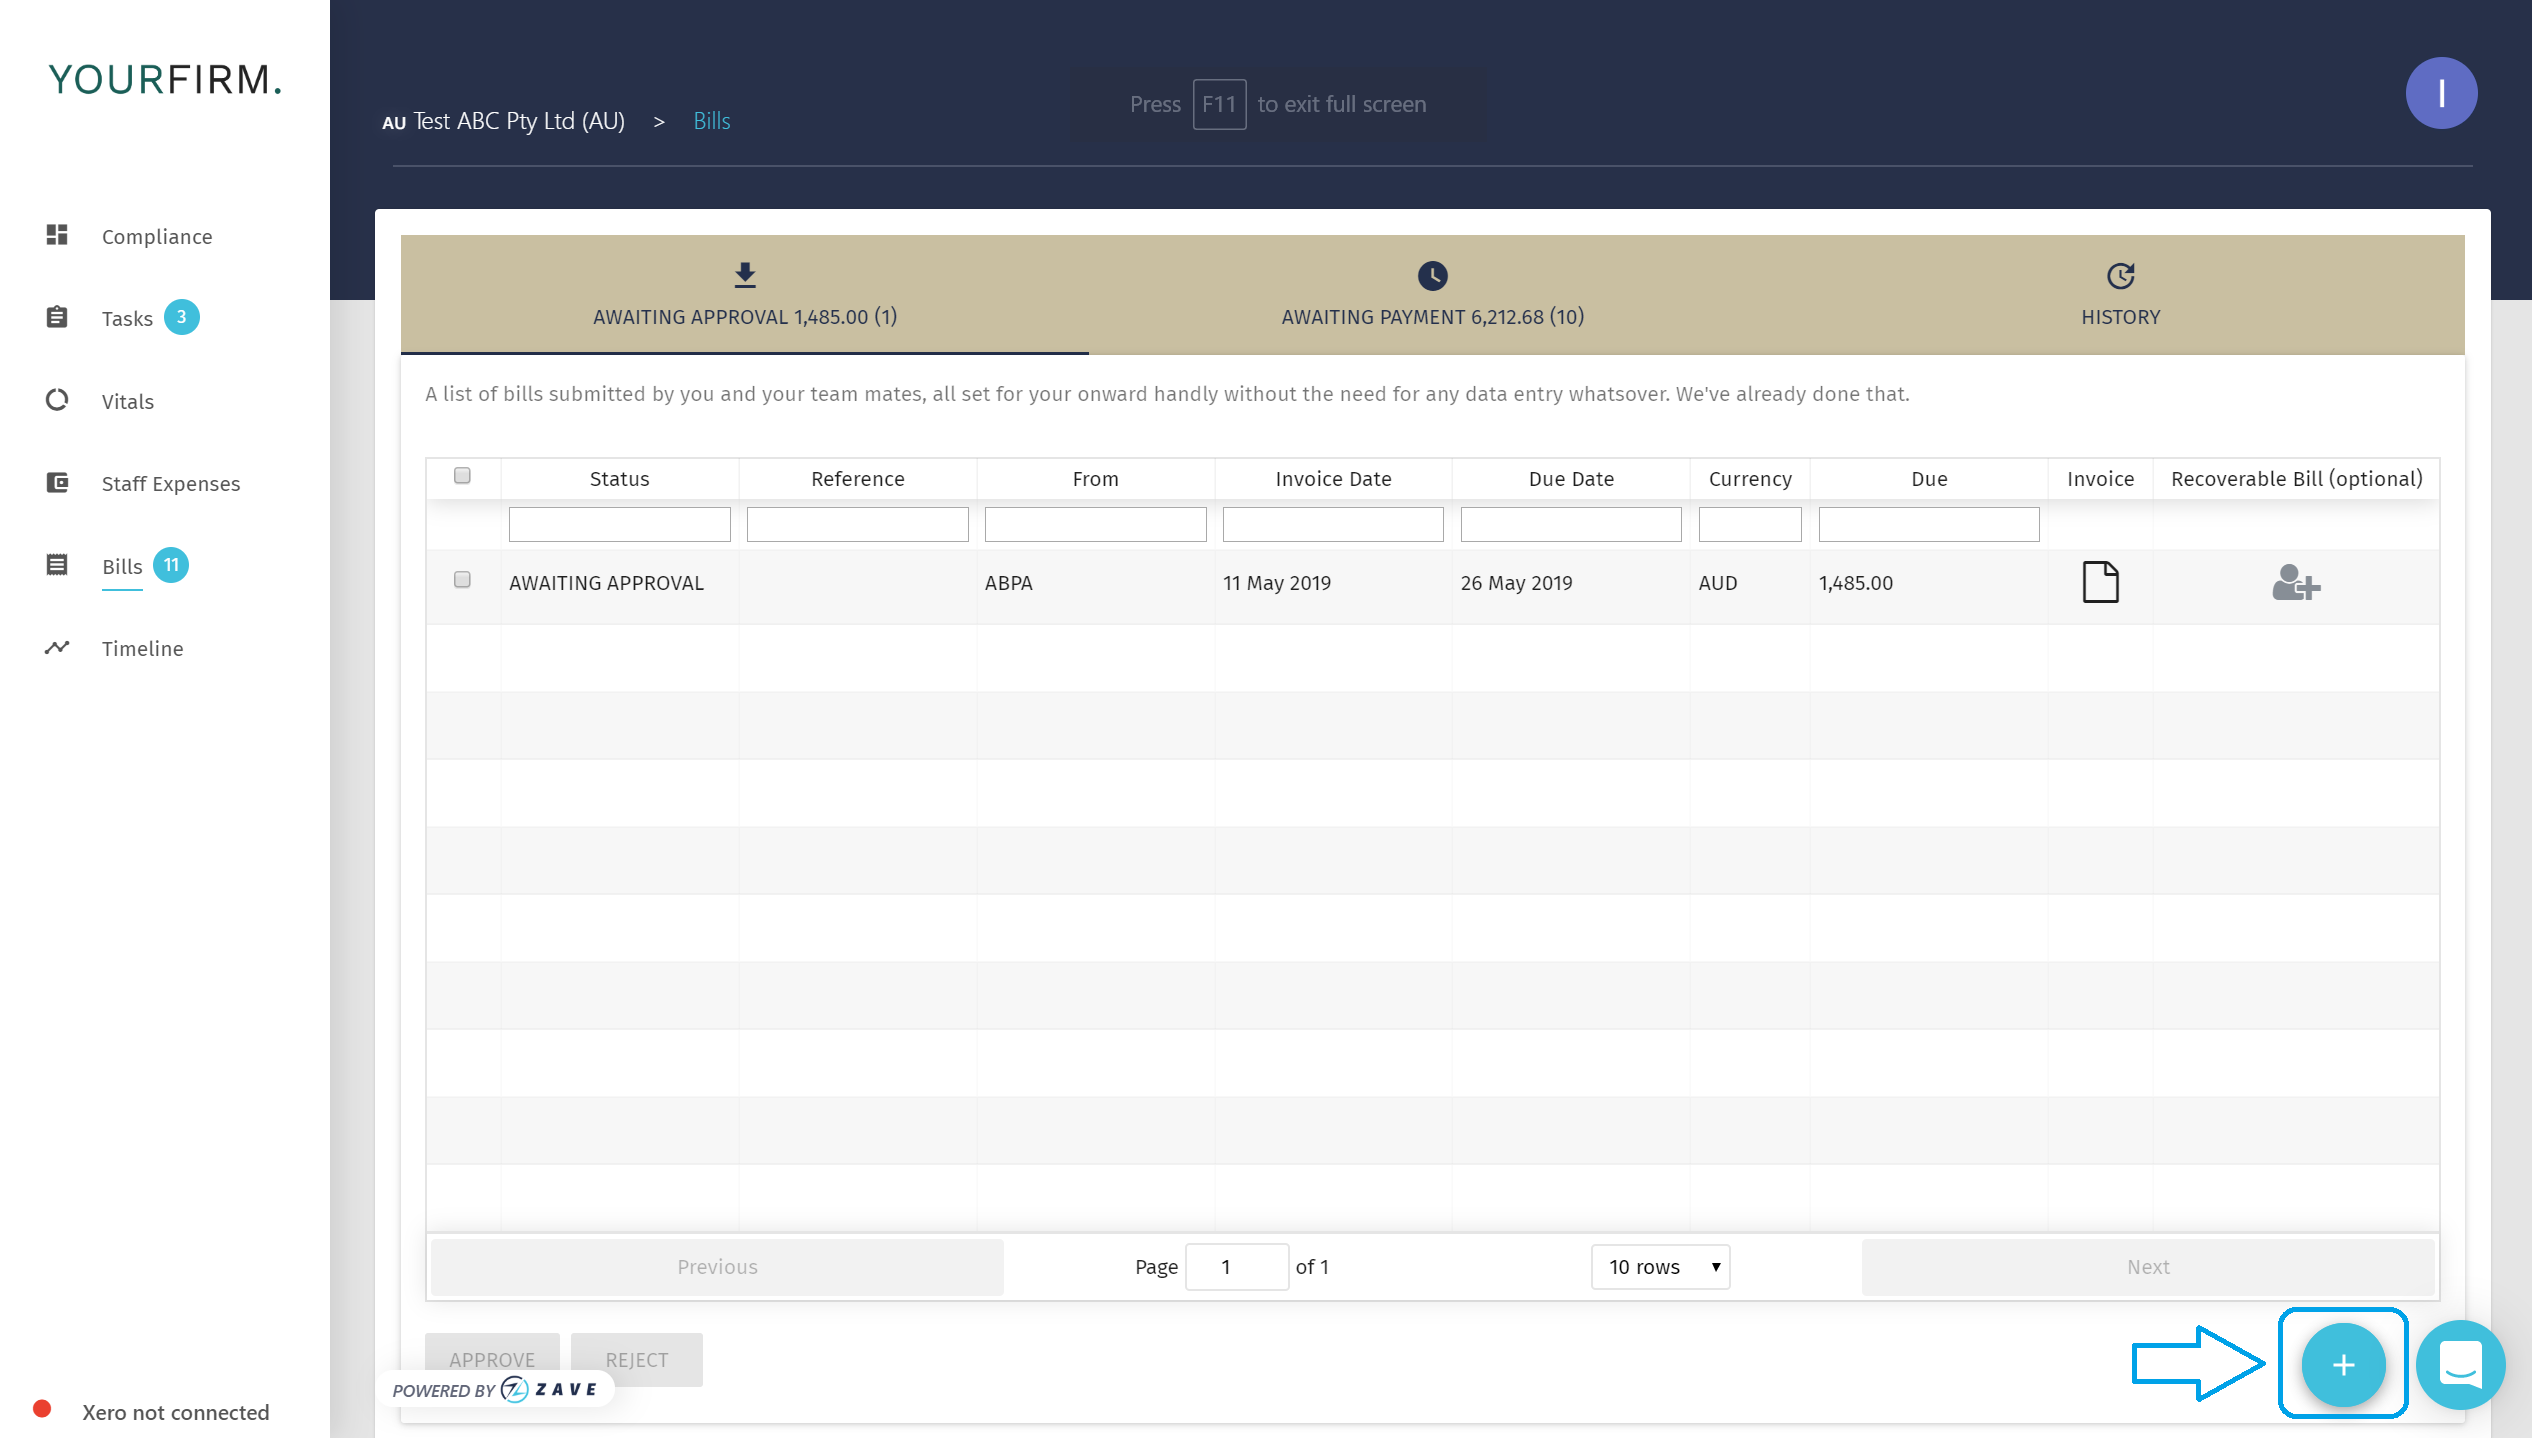
1. Submitting a Bill: Head over to the ‘Bills’ module in your portal and click the ‘+’ icon to add a Bill.

2. Select Bill or Invoice to upload

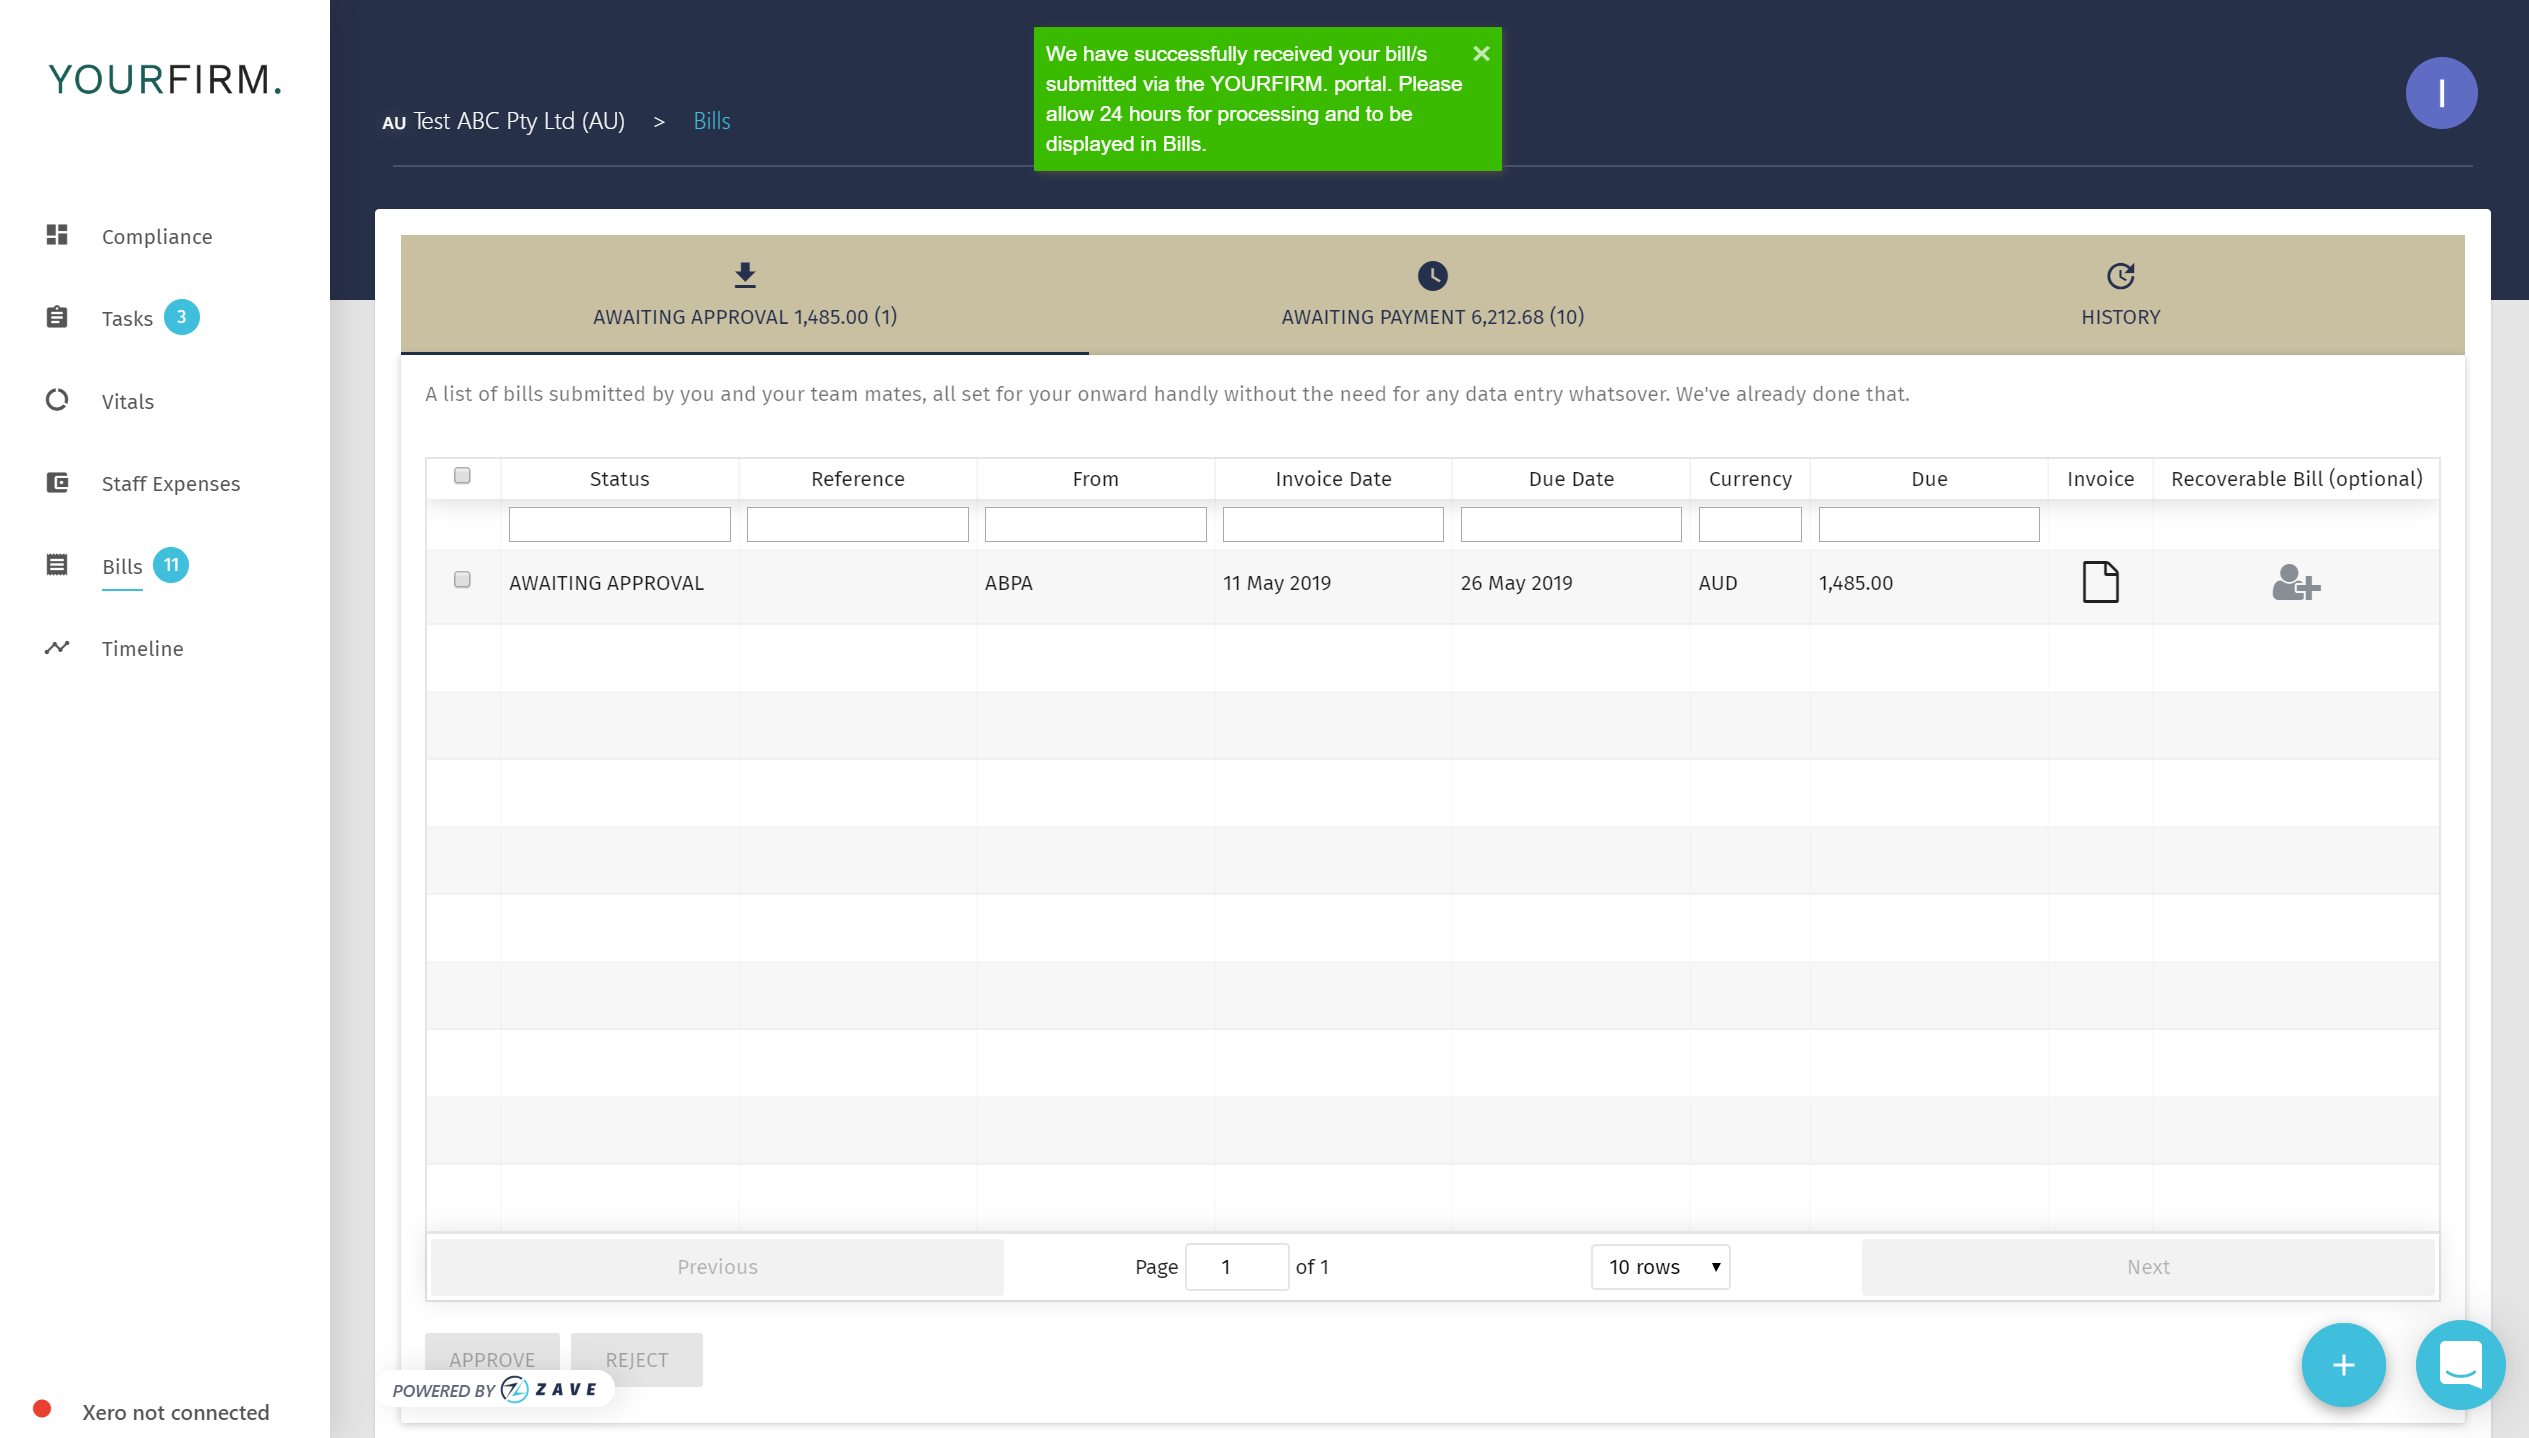
3. Receiving a friendly confirmation, as seen in the green dialogue box below. The invoice will be processed and reflected in the portal within 1-2 working days, allowing time for the invoice to be processed.

4. Recovering costs from a customer? If the Bill needs to be charged back to a customer (recoverable expense), your Client can assign the invoice to a customer contact, which needs to be created within the Xero environment beforehand.

5. Approving Bills: Your authorised company representative can approve Bills once they have been processed.

6. Make a payment: Your bank authorised personnel will then log into your company Bank Account and make a payment from your Bank account.
7. Ensuring the transaction details are linked to the appropriate Bank Account: Update the bank accounts used to pay the expenses. If you cannot see the payment method you would like, these can be adjusted or added into Xero.

8. Transaction details updated in Xero: Once the expenses have been paid and updated on the portal, the paid details will be updated in Xero.
The Bills under ‘Awaiting Payment’ will move into ‘History’.

Method 2
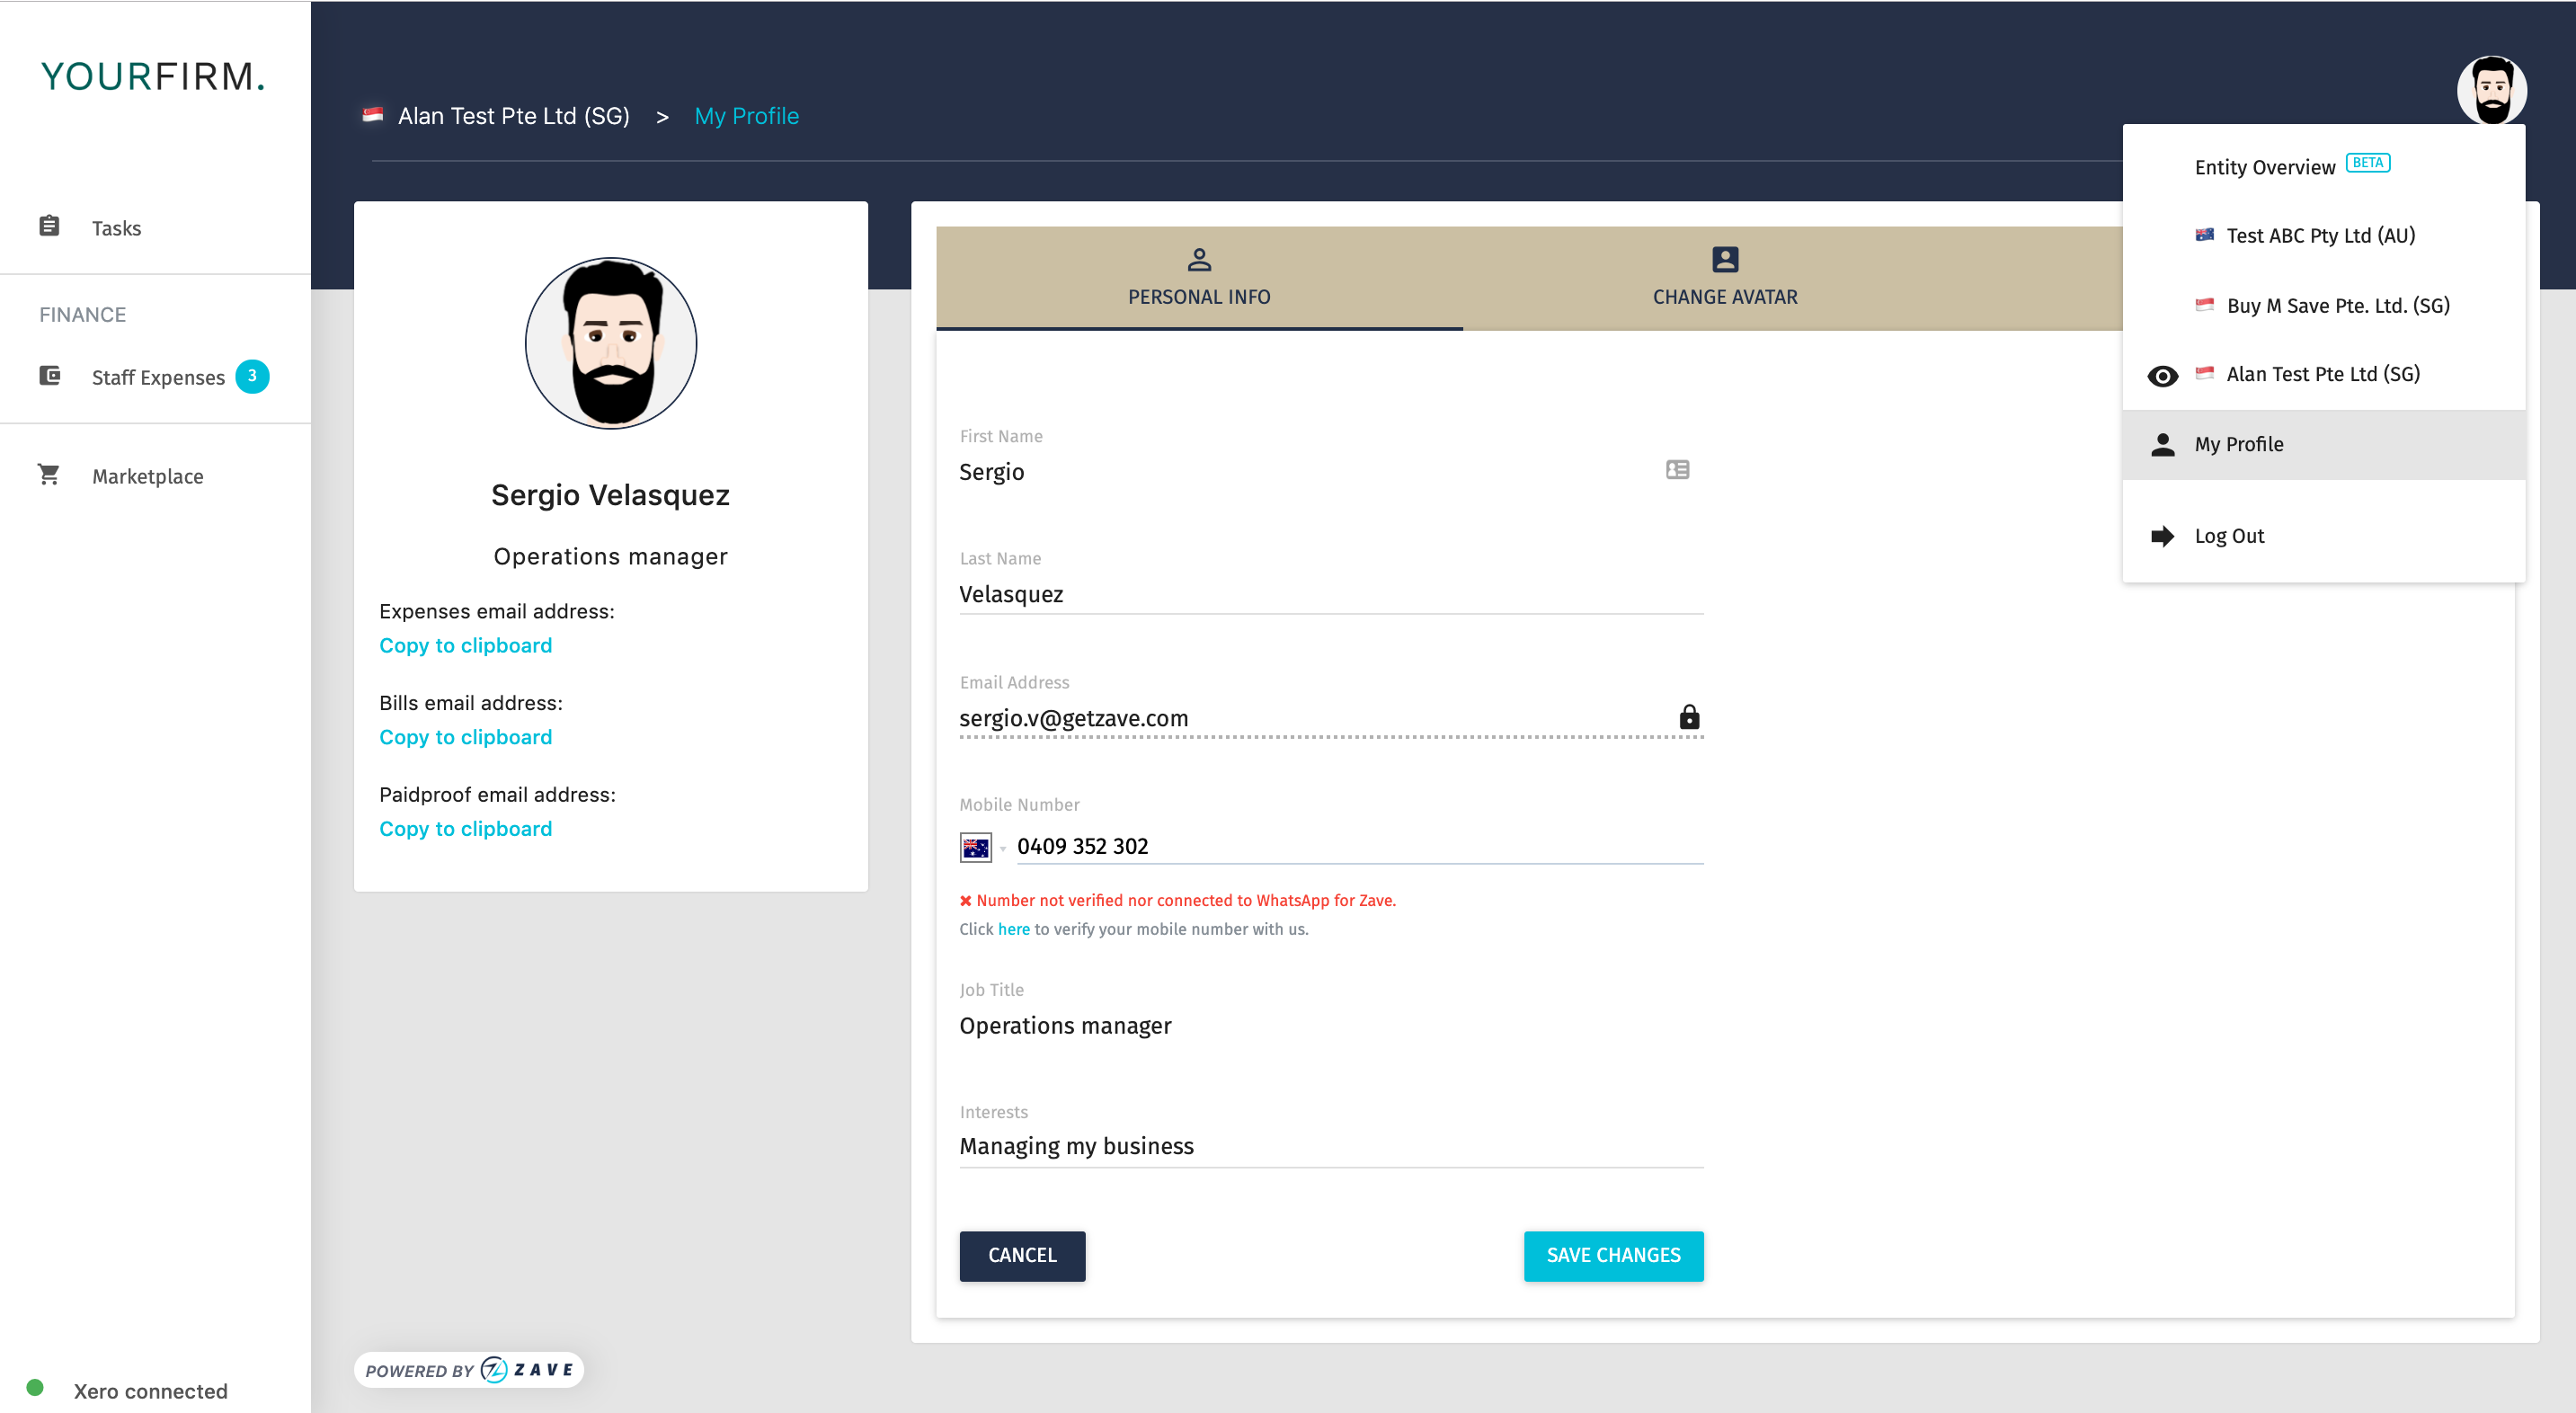
1. You can email the invoice(s) / receipt(s) to the email addresses, which can be found under your User Profile.
For more details about User Profiles, head over to this Guide
Please email the receipts to the relevant email address. For example, the Bills should be emailed to the Bill’s email address.

